Usage
Python API
Make sure you’ve installed the library correctly.
Open a Python shell and import the Backlight class:
>>> from rpi_backlight import Backlight
Create an instance:
>>> backlight = Backlight()
Now you can get and set the display power and brightness:
>>> backlight.brightness
100
>>> backlight.brightness = 50
>>> backlight.brightness
50
>>>
>>> with backlight.fade(duration=1):
...     backlight.brightness = 0
...
>>> backlight.fade_duration = 0.5
>>> # subsequent `backlight.brightness = x` will fade 500ms
>>>
>>> backlight.power
True
>>> backlight.power = False
>>> backlight.power
False
>>>
To use with ASUS Tinker Board:
>>> from rpi_backlight import Backlight, BoardType
>>>
>>> backlight = Backlight(board_type=BoardType.TINKER_BOARD)
>>> # continue like above
See the API reference for more details.
Command line interface
Open a terminal and run rpi-backlight.
$ rpi-backlight -b 100
$ rpi-backlight --set-brightness 20 --duration 1.5
$ rpi-backlight --get-brightness
20
$ rpi-backlight --get-power
on
$ rpi-backlight -p off
$ rpi-backlight --get-power
off
$ rpi-backlight --set-power off :emulator:
$
To use with ASUS Tinker Board:
$ rpi-backlight --board-type tinker-board ...
You can set the backlight sysfs path using a positional argument, set it to :emulator: to use with rpi-backlight-emulator.
Available options:
usage: rpi-backlight [-h] [--get-brightness] [-b VALUE] [--get-power]
                    [-p VALUE] [-d DURATION] [-B {raspberry-pi,tinker-board}]
                    [-V]
                    [SYSFS_PATH]

Get/set power and brightness of the official Raspberry Pi 7" touch display.

positional arguments:
SYSFS_PATH            Optional path to the backlight sysfs, set to
                        :emulator: to use with rpi-backlight-emulator

optional arguments:
-h, --help            show this help message and exit
--get-brightness      get the display brightness (0-100)
-b VALUE, --set-brightness VALUE
                        set the display brightness (0-100)
--get-power           get the display power (on/off)
-p VALUE, --set-power VALUE
                        set the display power (on/off/toggle)
-d DURATION, --duration DURATION
                        fading duration in seconds
-B {raspberry-pi,tinker-board}, --board-type {raspberry-pi,tinker-board}
                        board type
-V, --version         show program's version number and exit
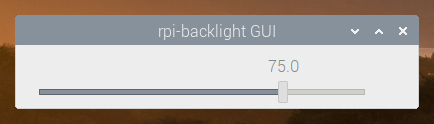
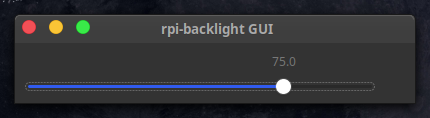
Graphical user interface
Open a terminal and run rpi-backlight-gui.
Adding a shortcut to the LXDE panel

First, create a .desktop file for rpi-backlight (e.g.
/home/pi/.local/share/applications/rpi-backlight.desktop) with the following content:
[Desktop Entry]
Version=1.0
Type=Application
Terminal=false
Name=rpi-backlight GUI
Exec=/home/pi/.local/bin/rpi-backlight-gui
Icon=/usr/share/icons/HighContrast/256x256/status/display-brightness.png
Categories=Utility;
The absolute path to rpi-backlight-gui might differ if you did not follow the
installation instructions exactly, e.g. installed as root.
Make it executable:
$ chmod +x /home/pi/.local/share/applications/rpi-backlight.desktop
You should now be able to start the rpi-backlight GUI from the menu:
(Raspberry Pi Logo) → Accessoires → rpi-backlight GUI.
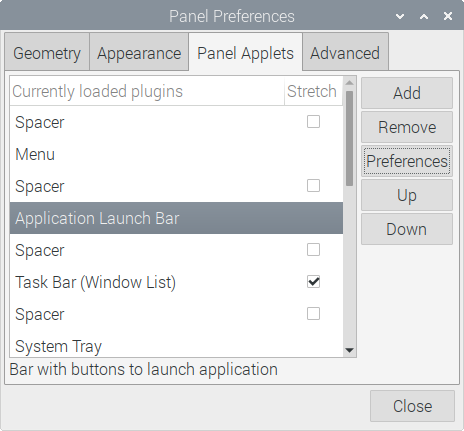
Next, right-click on the panel and choose Add / Remove panel items. Select
Application Launch Bar and click Preferences:
Select rpi-backlight GUI on the right and click Add:
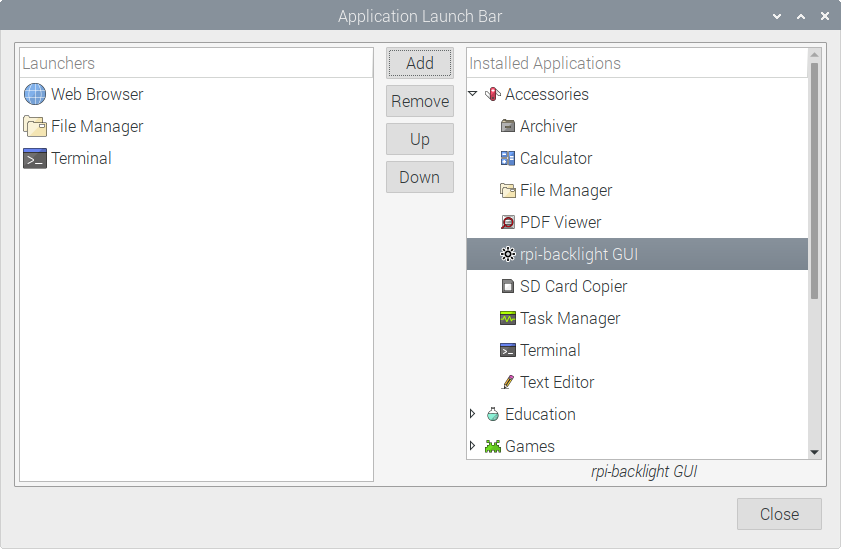
You’re done!